When we bought our last house it had linoleum floors in all the wet
rooms (bathrooms, kitchen and laundry) The linoleum was more of a
country home design and was warn from use and cat scratches. Well, it
was time for it to go and so we decided tile.
This was my first time I have ever done tile. Never been around it
before, so I didn't even know the basics to tiling a floor.
First is the job of removal. You have to pull up old flooring. You
want to get rid of any particleboard and soft or loose materials. Our
house was only about 17 years old so under the linoleum and particle
board was solid plywood with no rot or issues. YAH!
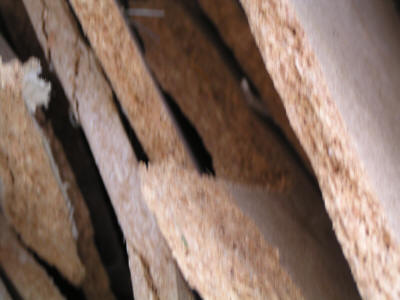
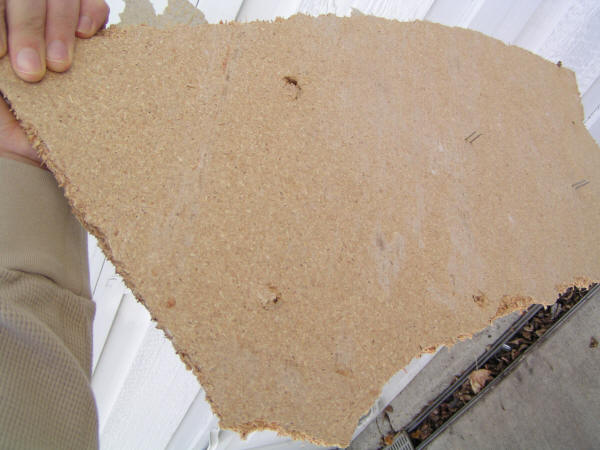
Particle board chunks.
When attempting to tear out the floor, the particleboard may be under
the cabinets. If this is the case you will have to cut with a toe-kick
saw that can be rented at tool rental shops. It is up to you to use
caution when using power tools, if you haven't done it before, best to
get advise before attempting the job the could lead to toes being
removed.
After cutting the edges that need to be cut (note: not all edges will
need to be cut.) You can then start pulling up the floor. Since ours was
newer we removed linoleum first to expose screws, used a cordless drill
to remove the screws and then pulled up the plywood using hammers,
claws, and even ends of 2x4's to get leverage under the particle board
which was still held down by staples about every 4" square!
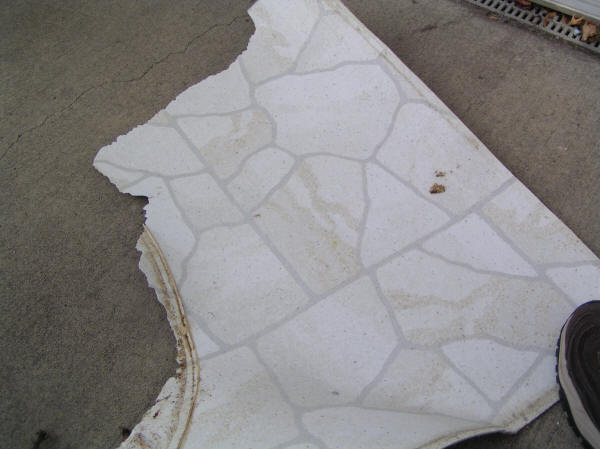
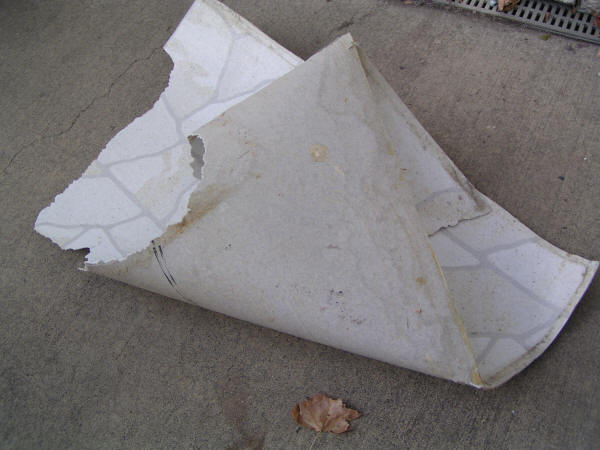
The linoleum will leave some paper stuck to the particleboard. This
will hide the screws and the filler will usually be in the screw head
also making them difficult to get to. Just keep the battery charged and
go at it with a cordless drill.
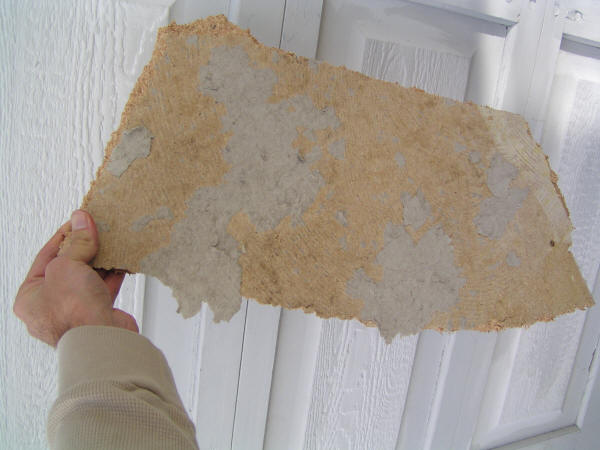
Sometimes I was able to get large pieces if I used pry bars and other
items under as I slowly made my way across the floor, but most pieces
were probably about this size.
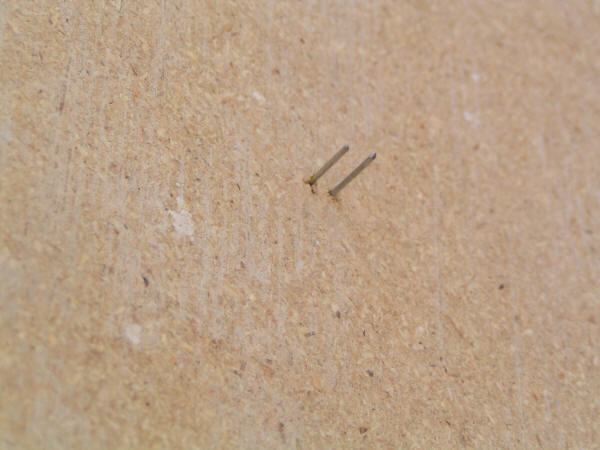
These staples were everywhere making the task slow and tedious.
Now for the next step in tiling a floor - the subfloor preparation.
Subfloor prep
